
Easy DIY Projects You Can Finish in One Hour (That Actually Look Good!)
You love the idea of crafting, personalizing your space, and getting your hands a little dirty. You probably have a Pinterest board overflowing with gorgeous home decor inspiration, saving ideas for that mythical "free weekend." But let’s be completely honest: the thought of sacrificing your entire Saturday, covering your living room in sawdust, and waiting days for things to dry is exhausting. When you have a busy schedule, balancing a career, family, and social life, massive home renovations simply aren't on the table.
Welcome back to JoyCrafted! We believe that you don't need a professional workshop, expensive power tools, or a 48-hour window to create something incredibly beautiful for your home. Sometimes, all you need is a spare 60 minutes, a good playlist, and a spark of inspiration.

Today, we are exploring the magic of the "micro-DIY." We have carefully curated a list of stunning, high-impact, easy DIY projects you can legitimately start and finish in under an hour. These aren't your average kindergarten crafts involving popsicle sticks; these are sophisticated, budget-friendly interior upgrades that will leave your houseguests asking, "Where did you buy that?"
Why 60-Minute DIYs Are the Ultimate Creative Fix
Before we dive into the projects themselves, let’s talk about why these quick tasks are so profoundly satisfying. Taking on a massive DIY project can often lead to what we call "DIY burnout"—that overwhelming feeling when your dining room table has been covered in drop cloths for three weeks, and you begin to resent the project you once loved.
One-hour DIYs completely bypass this issue. They offer several unique benefits:
- The Dopamine Hit: There is a unique psychological satisfaction in starting and completing a physical task in a single sitting. It boosts your mood and gives you an immediate sense of accomplishment.
- Accessible Stress Relief: Crafting is a proven mindfulness practice. Spending an hour focusing on painting, gluing, or organizing allows your brain to disconnect from work emails and digital screens.
- Low Risk, High Reward: Because these projects require minimal time and cheap materials (often upcycled items), the pressure is completely off. If a one-hour, five-dollar project doesn't turn out perfectly, it's not a financial disaster. It’s just a fun learning experience!
1. Quick & Chic Home Decor Upgrades
You don't need to spend hundreds of dollars at high-end boutiques to get trendy, textured decor. Here is how to create beautiful, bespoke items yourself in minutes.
The Viral Baking Soda Paint Flip
If you have ever admired those earthy, textured ceramic vases from high-end stores like Pottery Barn or West Elm, this internet-famous hack is for you. You can turn absolutely any cheap, glossy, or outdated thrift-store vase into a matte, artisan-style masterpiece that looks like it was hand-thrown in a European pottery studio.

How to do it step-by-step:
- Find an old glass or ceramic vase with a great silhouette. Check your own cupboards, the clearance aisle, or your local Goodwill.
- In a disposable cup, mix any standard acrylic paint (or leftover interior wall paint) with regular baking soda. The magic ratio is roughly 1/2 cup of paint to 1 tablespoon of baking soda, but you can adjust it depending on how much texture you want.
- Stir the mixture thoroughly until it looks fluffy and thick, almost like cake frosting or mousse. You will notice it immediately thickens the paint.
- Use a bristle brush to apply the mixture to your vase. The baking soda adds instant, gritty texture that completely hides the cheap, shiny material underneath.
- Pro Tip for an Expensive Look: For a truly authentic terracotta or aged stone look, dab the paint on with a sponge rather than using long, smooth brush strokes. Let it dry for 30 to 45 minutes, pop in some dried pampas grass, and you're done!
5-Minute Custom Abstract Art
Blank walls can make a room feel cold and unfinished, but large-scale art is notoriously expensive. Why not become the artist? Abstract art is all about color theory and movement, not technical drawing skills. This project is incredibly freeing and guarantees a piece that perfectly matches your room's color palette.
How to do it:
- Purchase an affordable, large blank canvas from your local craft store (or thrift an ugly painting to paint over it).
- Choose three to four acrylic paint colors that match your room’s palette (for example: navy blue, soft blush, metallic gold, and stark white).
- Squeeze small dollops of paint directly onto the canvas in a random, scattered pattern.
- Take a large putty knife, a piece of stiff cardboard, or even an old credit card, and gently scrape the paint across the canvas. Smear the colors together in long, sweeping, organic motions.
- The result is a stunning, modern, heavily textured piece of abstract art. Because you are using a scraping tool instead of a brush, the paint layers beautifully and looks highly professional.
No-Sew Tassel Throw Pillows
Throw pillows are the absolute easiest way to update a living room or bedroom for a new season, but buying new covers constantly adds up. This no-sew hack adds instant boho-chic charm to boring, plain pillows, giving them a high-end designer finish.
How to do it:
- Take a plain, solid-color pillow cover (cotton, linen, or velvet works best).
- Purchase pre-made yarn tassels from a craft store, or make your own by wrapping yarn around a piece of cardboard 20 times and tying it off.
- Using heavy-duty fabric glue, attach a tassel securely to each of the four corners of the pillow cover.
- Press firmly and let the glue set for 45 minutes before stuffing the pillow insert back inside. You now have a custom, boutique-style pillow without threading a single needle.

2. Instant Home Organization Projects
Organization doesn't have to be purely functional and hidden behind closed doors; it can be beautiful, too. These rapid projects help you declutter your space stylishly, turning your storage solutions into actual decor pieces.
Rope-Wrapped Storage Baskets
Woven and jute baskets are incredibly popular right now for storing cozy throw blankets in the living room, organizing dog toys, or keeping magazines tidy. However, large woven baskets at home goods stores are surprisingly pricey. You can make your own beautiful versions using materials destined for the recycling bin.
How to do it:
- Take a sturdy cardboard box (an old Amazon delivery box or a diaper box is perfect). Cut off the top flaps entirely.
- Heat up your cordless hot glue gun.
- Starting at the bottom edge of the box, apply a thick line of hot glue (about 3 inches at a time) and firmly press thick jute or cotton rope onto it.
- Continue wrapping the rope around the box, gluing as you go, until you reach the top edge. Ensure there are no gaps between the rows.
- Pro Tip: To make it look professionally finished, take an old pillowcase or a piece of cheap linen fabric, drop it inside the box to act as a liner, and fold the top edges over the rim before you glue your final two rows of rope. No one will ever guess it started as a cardboard box!
Magnetic Spice Jars for the Fridge
Is your kitchen spice cabinet a chaotic avalanche of mismatched plastic bottles? Free up valuable cabinet space and create a visually stunning, highly functional display right on the side of your refrigerator.

How to do it:
- Buy a pack of small, uniform, hexagonal glass jars with metal lids. The hexagon shape allows them to nest perfectly together in a honeycomb pattern.
- Using a strong, heavy-duty craft adhesive (like E6000), glue a small neodymium magnet to the inside of each lid (or the outside bottom of the jar, depending on your preference). Hot glue will not work here—it eventually peels off glass and metal!
- Wait at least 30 minutes for the E6000 glue to become firm before handling.
- Fill the jars with your spices, apply minimalist waterproof labels to the glass, and stick them directly to the side of your fridge. It looks incredibly organized, highly aesthetic, and keeps your cooking essentials exactly where you need them.
Custom Drawer Dividers
"Junk drawers" are a universal household struggle. Generic plastic organizers rarely fit the exact dimensions of your drawer, leaving awkward, wasted gaps where items still get lost.
How to do it:
- Measure the precise inside length, width, and depth of your drawer.
- Cut strips of heavy-duty foam board or thick cardboard to match these dimensions.
- Wrap the cut strips completely in beautiful peel-and-stick contact paper (a faux wood grain or a fun, bright floral pattern works beautifully).
- Cut small slits halfway through the intersecting boards so they slide into each other to form a rigid grid.
- Pop your custom grid into the drawer. It takes under an hour, costs pennies, and fits your space flawlessly.


3. Furniture Refresh & Hardware Swaps
You do not need to spend an entire weekend sanding down and repainting a heavy dresser to give it a new life. Small, strategic updates make the biggest impact in the shortest amount of time.
Peel-and-Stick Wallpaper Accents
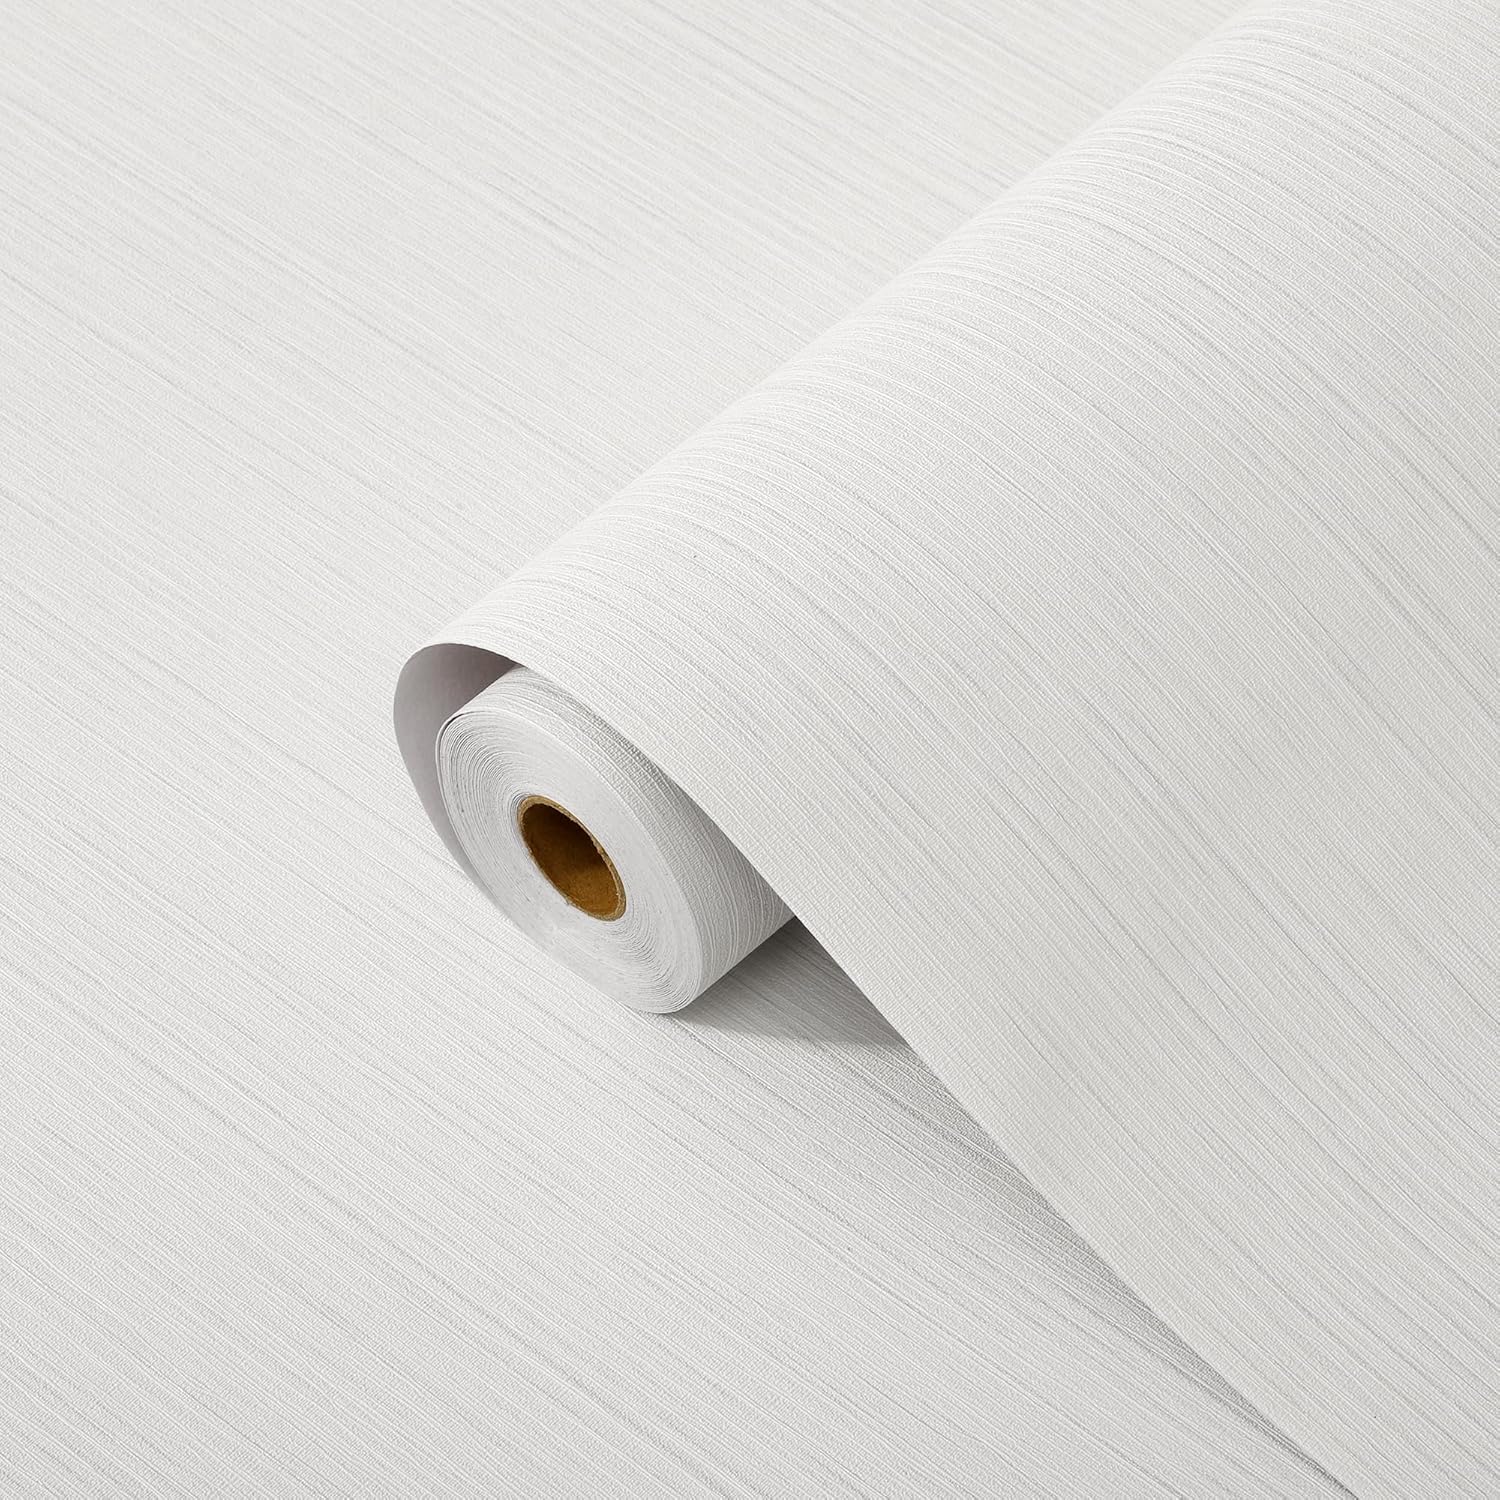
Wallpaper has made a massive comeback in interior design, but committing to an entire room is intimidating, expensive, and definitely takes more than an hour. Instead, use high-quality peel-and-stick wallpaper as a decorative accent on your existing furniture.
- The back of a bookshelf: Remove the books, measure the back panel, and smooth on a bold, patterned wallpaper. It adds incredible depth to the room and makes your books pop.
- Inside drawers: Line the bottom of your dresser or desk drawers with a fun pattern. It’s a delightful, hidden surprise every time you pull the drawer open.
- On a serving tray: Take a tired, scratched wooden coffee table tray and cover the base with faux-marble contact paper for an instant luxury upgrade.
Spray Painting Dated Hardware
If your kitchen cabinets, bathroom vanity, or bedroom dresser look a bit dated, look closely at the knobs. Builder-grade chrome, cheap plastic, or shiny 90s brass can age a piece of furniture significantly.
How to do it: Use a screwdriver to remove all the knobs and pulls. The most crucial step is to wash them thoroughly with grease-cutting dish soap and warm water to remove decades of finger oils. Once completely dry, lay them outside on cardboard and apply two light, even coats of high-quality metallic spray paint (Matte Black and Antique Brass are currently the top trends for a high-end look). They dry to the touch in 20 minutes. Reattach them, and your furniture will look brand new.
The "1-Hour DIY" Starter Kit: Everything You Need on Hand
To be a successful spontaneous crafter, you need a basic arsenal. Keeping these inexpensive items in a small storage bin means you are always ready when the creative mood strikes on a rainy Sunday.
- Cordless Hot Glue Gun: Provides an instant, strong hold with zero drying time. The cordless feature prevents you from knocking things over on your table.
- E6000 Adhesive: When hot glue isn't strong enough (specifically for glass, metal, and heavy plastics), this industrial glue will never fail you.
- Baking Soda: The cheapest way to add artisan texture to paint, or to clean tarnished thrift-store brass.
- Painter's Tape: Prevents messy mistakes, protects glass when painting window frames, and ensures crisp, professional lines on canvas art.
- Matte Black Spray Paint: Instantly changes the aesthetic of any hard surface, from picture frames to lamp bases, in minutes.
Common Mistakes to Avoid with Quick DIYs
Even the easiest projects can go south if you aren't careful. Keep these JoyCrafted expert tips in mind to ensure your 1-hour DIY is a success:
- Skipping the Prep Work: Yes, you are in a hurry, but never skip cleaning! Paint and glue will absolutely not stick to a vase or a cabinet knob that is covered in dust or natural hand oils. A quick wipe down with rubbing alcohol saves you from peeling paint later.
- Rushing the Dry Time: While the active work time for these projects is under an hour, you must respect the chemistry of your materials. If a spray paint can says "wait 15 minutes between coats," wait the full 15 minutes. Rushing leads to drips and tacky surfaces.
- Using the Wrong Glue: Hot glue is amazing for porous materials like cardboard, yarn, and fabric. It is terrible for smooth, non-porous surfaces like glass or metal. Always use a heavy-duty adhesive (like E6000) when working with those materials.
Frequently Asked Questions (FAQ) About Easy DIYs
1. I am not artistic at all. Can I really do these?
Absolutely! The beauty of these specific projects is that they require zero freehand drawing, sewing, or woodworking skills. If you can mix a bowl of ingredients or spray a can of paint evenly, you can successfully complete every project on this list.
2. Are these projects safe to do with kids?
Many of them are! The baking soda paint flip and the abstract canvas art are fantastic projects to do with children. However, adults should always handle hot glue guns, industrial adhesives like E6000, and spray paint.
3. Will the baking soda paint chip off over time?
If applied correctly to a clean surface, it is surprisingly durable. However, the finished piece will be water-sensitive. These vases are meant for dried florals (like pampas grass or faux olive stems), not for holding water and fresh flowers.
4. How do I prevent bubbles when applying peel-and-stick wallpaper?
The secret is to go slowly. Peel down only two to three inches of the backing at a time. Use a plastic smoothing tool (or the edge of a credit card) to push the paper flat, working firmly from the center outward to push any trapped air to the edges.
5. Is spray painting hardware a permanent fix?
It is an excellent, long-lasting fix for pieces that see light to medium use (like a bedroom dresser or a guest bathroom vanity). For extremely high-traffic areas (like the knob on your main trash pull-out in the kitchen), the paint may eventually chip after a year or two from constant fingernail scratches.
6. Where is the best place to find cheap materials for these DIYs?
Your local thrift store, dollar store, and the clearance aisles of craft stores are absolute goldmines. Never buy a brand-new glass vase for the baking soda hack—thrift stores sell them for a dollar or two!
Unleash Your Inner Creator Today!
Creating a home that feels curated, stylish, and uniquely yours doesn’t have to drain your wallet or consume all your free time. By dedicating just one hour this weekend to a micro-DIY project, you can dramatically elevate your space and enjoy that incredible, empowering feeling of saying, "I made that!"
Whether you decide to transform a thrifted vase with baking soda, organize your kitchen with magnetic spice jars, or finally update those dated cabinet knobs, the hardest part is simply starting. Pick a project, gather your supplies, put on your favorite podcast, and enjoy the creative process.
So, which of these 1-hour DIY projects are you going to tackle this weekend? Do you have a favorite quick-craft that we missed? Let us know in the comments below!
Loved these ideas? Don't forget to pin this article to your favorite "DIY & Home Decor" Pinterest boards so you always have quick inspiration at your fingertips!